

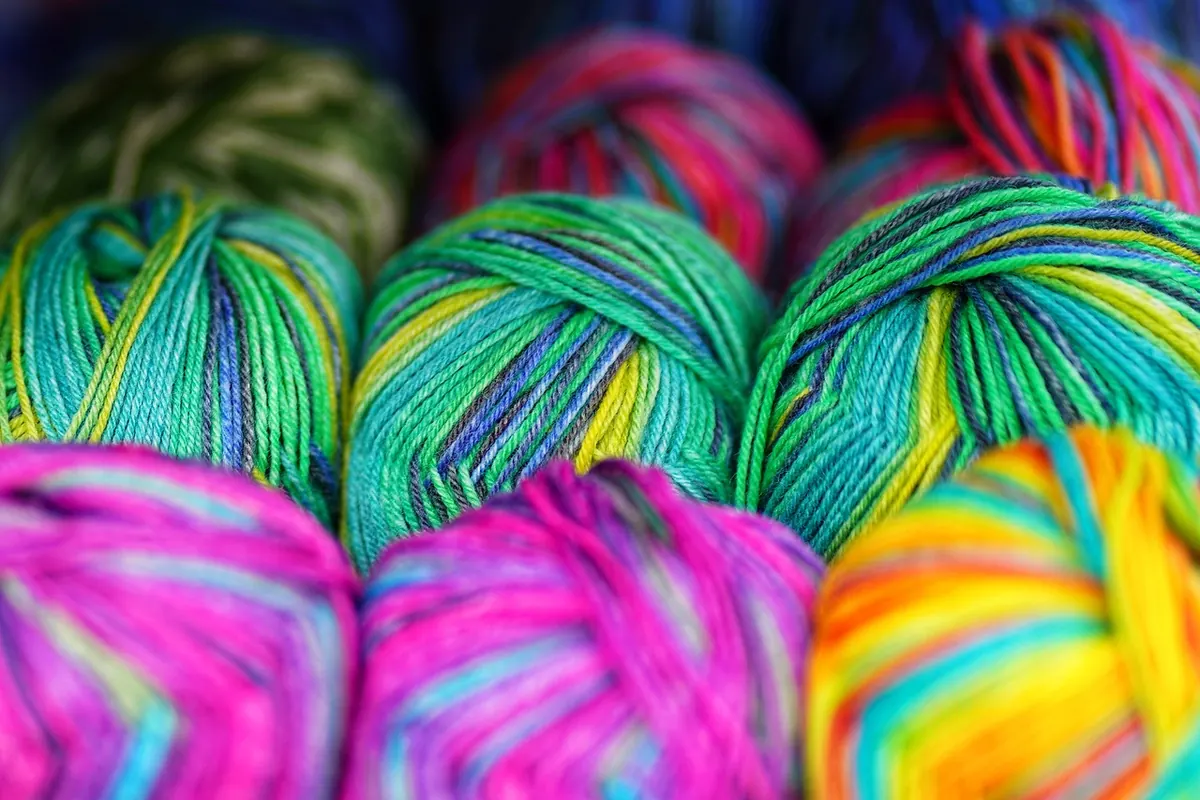
On the morning the first caper flowers open, the dye yard behind the weaving rooms already smells of iron and wet wool. Buckets of steeping myrtle sit in the shade, skeins hang over a line like dark commas, and someone is stirring a pot of pomegranate rind that has been going since before dawn. Nobody here talks about "colour trends". They talk about what is ripe, what is dry, what the wind did last week, and whether the alum barrel needs topping up.
Natural dyeing on the island is not a decorative hobby borrowed from a workshop weekend. It grew out of thrift: wool from the flock, cloth from the loom, colour from whatever the scrub and the kitchen gave up. The dyers working today have kept that logic and added patience to it. Their palettes are narrow by design, and that is exactly what makes them recognisable.
The Dye Yard at First Light
A working dye yard is a plain place. A stone sink, a gas ring, three or four enamel pots reserved for dye only, a scale, a notebook swollen with damp, and a shelf of glass jars holding powders that look like dirt and behave like weather. The good dyers are fussy about water. Rainwater is collected, because the island's tap water is hard enough to dull a madder red, and a litre of chalky water can turn a clear yellow into something muddy.
The other fixed habit is labelling. Every skein that leaves the yard carries a small paper tag with the date, the plant, the mordant, the modifier and the pot number. Without those tags, a dyer can reproduce a colour once and never again. With them, a colour becomes a recipe.
Three Dyers, Three Approaches
The dyers here do not work the same way. Most of them specialise, quietly, in one source of colour, and build outward from there.
Rosa and the kitchen garden
Rosa dyes in the courtyard behind her house, close to the vegetable patch, and much of her material comes from things other people throw away. Dry onion skins give a warm ochre on wool and a paler straw on cotton. Pomegranate rinds, saved through the winter in a paper sack, produce a soft brass that deepens to olive with an iron dip. Fig leaves, picked in late summer when the tree is still green, give a pale yellow-green that fades gently and honestly with wear. Her palette is the one most people picture when they say "island colours": tan, honey, dusty green, the shade of an old terracotta pot.
Nanni and the coastal scrub
Nanni walks. He carries secateurs, a canvas bag and a fixed route along the maquis, and he harvests with an eye on the calendar rather than the colour chart. Myrtle leaves cut in spring give a yellow; the same leaves cut in autumn, after the berries have darkened, give a browner, heavier tone. Lentisk and rosemary both yield modest yellows that make excellent bases for overdyeing. Caper leaves, trimmed back after the flowering, are a by-product he has learned to use rather than waste. He never takes more than a third of a plant, and he never cuts the same bush twice in a season.
Anna and the mineral pots
Anna's workshop smells different — sour, metallic, faintly of vinegar. She works with earth pigments gathered from cuttings and eroded banks: ochres, clay-rich soils, a greyish marl that fires to a soft slate. These go into the pot as a slurry and need a binder to stay put on cloth. Her iron bath, made from rusty nails and vinegar left to stand for weeks, is the most useful thing in the room. A few minutes in it turns a yellow-green to moss, a tan to charcoal, a pink to plum. It is also the easiest way to ruin a dye lot: too long, and the wool goes harsh and the colour flat.
The Seasonal Palette
The calendar is the real colour card. Roughly, this is how a year of gathering looks; exact weeks shift with rain and altitude, so taste and test before committing a whole fleece.
- Late winter — onion skins, walnut hulls saved from autumn, dried pomegranate rind. Warm browns, ochres, brass.
- Early spring — myrtle leaf, rosemary, fennel, wild carrot tops. Clear yellows and yellow-greens.
- Late spring — caper leaf trimmings, olive prunings, artichoke bracts. Soft greens, muted khaki.
- High summer — fig leaf, prickly pear fruit, fresh walnut leaf. Green-yellow, dusty pink, deep brown.
- Autumn — myrtle berries, sumac, chestnut burs, onion skins again. Browns, greys, warm near-blacks.
- Any month, dry — madder root, weld, woad, bought in and stored. The reliable reds, yellows and blues that the island cannot supply alone.
Most dyers keep two shelves: one for gathered material, one for reliable staples. Building a collection entirely from foraging sounds romantic and produces a lot of beige.
Mordants, Modifiers, and Why the Same Pot Gives Two Colours
Colour does not come from the plant alone. It comes from the plant plus a metal salt that fixes it to the fibre, plus whatever you do afterwards. Alum is the standard mordant and the kindest: it leaves colours clear and bright. Iron saddens and darkens everything it touches. Copper pushes greens and deepens browns. Tin brightens, and it also makes wool brittle, so it is used sparingly, if at all.
Then come the modifiers — the quick after-baths that shift a shade in minutes. A dip in a weak soda solution can warm a yellow toward orange. A splash of vinegar can lift a pink. If you are testing a new plant, run four small skeins: alum only, alum plus iron, alum plus soda, alum plus acid. Ten minutes of dipping will tell you more than a page of notes.
A Working Method, Start to Finish
- Weigh everything dry. Fibre weight and dye material weight, in grams, written down. "Enough plant" is not a measurement.
- Scour the fibre. A gentle wash with a little neutral soap removes the grease that blocks dye uptake.
- Mordant slowly. Alum around 10–15% of fibre weight, warm water, one hour, then cool in the bath overnight.
- Simmer the dye. Soft plant matter at 60–80°C for an hour; roots and bark longer. Never boil wool hard or it will felt.
- Strain, then dye. Enter the fibre wet, keep the heat low, stir gently and rarely.
- Modify. Lift the skein, divide it, and dip the samples in separate baths. Record what happens.
- Dry in shade, then wash. Colours settle after a week. Judge nothing on the first afternoon.
Before You Fill the Pot
Start small and start dull. A single pot, one mordant, one plant, and three small samples will teach you more than a shelf of books. Keep a dedicated pot for dyeing and never use it for food. Wear gloves, work near an open window, and keep iron and alum in labelled jars well away from children and animals; some dye materials and all metal salts deserve respect. Never forage a plant you cannot identify with certainty, and never take rare species or roots from the wild.
Finally, let the island set the limits. A palette built from the scrub, the kitchen and the odd bag of walnut hulls will never match a synthetic shade card — and it will look like nowhere else.
Photo: mariya_m / Pixabay